Putting up a ceiling projection screen sounds easy, but things can go wrong if you don't do it right. The screen isn't straight, the wires show, or the sound and picture don't feel right. But don't worry—if you follow a few simple do's and don'ts, you can ensure your screen looks great and works perfectly.
Let's go through the best things to do—and the things to avoid—when setting up a ceiling projection screen.
DO: Pick the Right Spot
The first step is choosing the right place for the screen. Make sure your screen is centered so everyone can see it easily, and it should not be too high or too low.
Leave enough wall space around it so it doesn't feel cramped.
Also, ensure enough distance between the screen and the projector for the best picture.
DON'T: Block Lights or Air Vents
Some people place the screen near ceiling lights or air vents. That's a big no-no.
Light shining on the screen can ruin the picture quality, and air blowing on it might move the screen or create noise.
Always double-check the spot before drilling or mounting. A little planning can save a lot of trouble later.
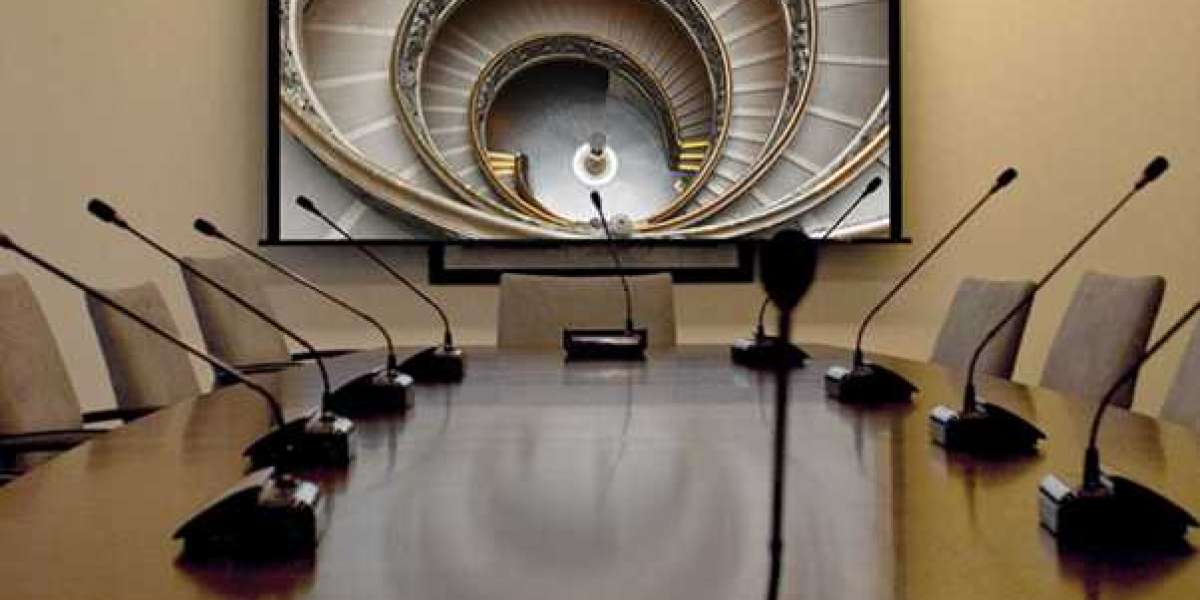
DO: Use a Ceiling-Recessed Screen for a Clean Look
If you want your room to look neat and modern, go for a ceiling-recessed screen like the Access E Ceiling Projection Screen by Draper. It stays hidden in the ceiling when not in use.
When you need it, press a button, and it will come down quietly and smoothly.
No bulky equipment hanging around, no mess, and no visual clutter.
DON'T: Leave Wires Hanging
Wires hanging from the ceiling or wall look bad and can be unsafe, too.
Use hidden cable paths or covers to keep everything out of sight.
Clean wiring makes your setup look more professional and keeps people from tripping.
A neat room always makes a better impression—at home or work.
DO: Make Sure the Screen Is Level
Your screen must hang flat and straight. If it's tilted, the image will look strange or cut off.
Use a spirit level and take your time during setup. Even a small slant can ruin the viewing experience.
Also, adjust the brackets properly to match your ceiling. It might take a little time, but it's worth it.
DON'T: Rush the Installation
Don't be in a hurry when setting up your ceiling projection screen. It's not a job to finish quickly.
Follow the manual. Double-check the measurements. Ask for help if you need it.
Getting it right first saves time, money, and frustration later.
DO: Choose a Trusted Brand Like Draper
Not all projector screens are the same. Some look okay but don't last.
Draper makes strong and stylish screens that are used in schools, offices, and even fancy boardrooms.
Their Access E ceiling projection screen is one of the best. It fits into the ceiling, looks clean, and gives a great picture.
And the best part? It's easy to use and built to last for years.
DO: Test Everything Before You Finalize
- Before you finish the setup, test the screen, projector, and sound together.
- Ensure the image fits nicely on the screen without any shadow or blur.
- Check the remote or switch to see if the screen goes up and down smoothly.
- Also, play some sound to check if it's loud and clear enough for the room.
It's always better to fix minor issues before the setup is complete.
Who Brings Draper to Dubai?
Evig, an AV solutions company in Dubai, is the official distributor of Draper products in the UAE.
They provide top-quality ceiling projection screens, projector lifts, and more.
Evig works with hotels, schools, offices, and homes to ensure people get the right AV setup.
With Evig, you get support, good service, and only trusted brands.
Final Tips for a Great Setup
Setting up a ceiling projection screen correctly can change how your room looks and works.
It gives you clean walls, great sound, and a perfect picture—without taking up space.
Follow the simple dos and don'ts above and choose quality products like Draper.
Need help? Evig can guide you every step of the way.